

Installing MacOS in VMware


This guide will teach you on how you can set up a MacOS VM using VMWare in Windows. I'll try to make this as simple as possible. I'm currently using VMware Workstation Pro (paid), but you can also use VMWare Workstation Player (free).
Before you start, make sure your PC has virtualization enabled by opening Task Manager, tapping Performance, CPU and looking at Virtualization. If you don't have it enabled, just enable it in BIOS. There are plenty of tutorials on Youtube on how to do that.
Step 1: Downloading a copy of MacOS
This step is pretty simple. First, make sure you have the latest version of Python installed. If you don't, install in the python.org website.
You now need to download OpenCore. Go to https://github.com/acidanthera/OpenCorePkg/releases and download the latest releases ZIP file. It should be something like OpenCore-XXXXX-RELEASE.zip .

Then, simply extract it. On the extracted folder, go to Utilities > macrecovery . Then, right-click any empty space, tap "More options" and "Open in terminal" or "Open PowerShell window here".
Next, you want to go here, scroll a bit down, and run the command for your version. It might take a while. Close the window and go back to the macrecovery folder. Look for the newly generated BaseSystem.dmg and copy it to your Desktop or Documents folder.
Step 2: Create a VMware disk
Installing QEMU
Now that we have the BaseSystem.dmg file, we want to make it so VMware can read it. For this, we're using an open-source software called QEMU .
Go to https://qemu.weilnetz.de/w64/ and select the qemu-w64-setup-XXXXXXXXX.exe file. Run the installer. If you get a Windows Smartscreen warning, simply tap "Run Anyway".

Wait for QEMU to install. If you get an error during installation saying a file cannot be written, just tap Retry button. Then, close the installation window.
Creating the VMDK
After installing QEMU, we need to use it to convert the BaseSystem.dmg to a VMWare .vmdk disk image. Open the folder where you put the BaseSystem.dmg file, open powershell again and run the following command:
& "C:\Program Files\qemu\qemu-img.exe" convert -O vmdk -o compat6 BaseSystem.dmg recovery.vmdk
As soon as the script ends, you should see a new recovery.vmdk file in your computer.

Step 3: Preparing & Unlocking VMWare
For you to even be able to load a macOS system into VMWare, you will need to use a program called Auto-Unlocker to patch your VMWare installation.
win-install.cmd as AdministratorDownload the file here and extract the zip file. Open the Unlocker.exe file and tap "Patch".
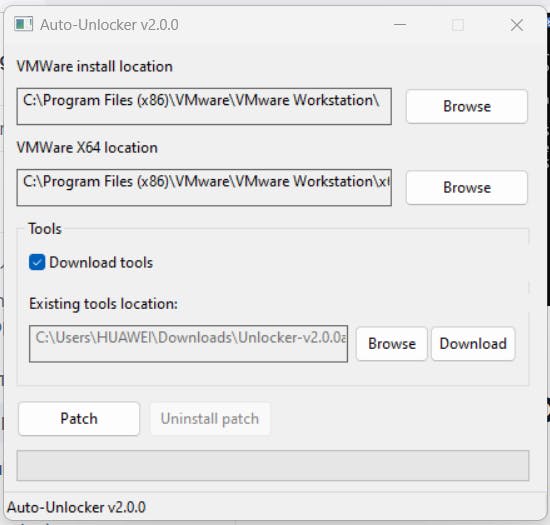
Once the patch is complete, close the app.
Step 4: Creating the VM
This section will detail how to create the base virtual machine using the recovery disk we created earlier.
Open VMware and press File > New Virtual Machine
Tap
Custom Installationand start navigating through the New Virtual Machine setup screens.In "Install from", select "Install OS later"
On the
Select a Guest Operating Systempage, selectApple Mac OS X, as well as the corresponding macOS versionOn the
Processor Configurationpage, select1for theNumber of processors.On the
Memory for the Virtual Machinepage, select at least 4096 MB (recommended 8096 MB)On the
Network Typepage, selectUse network address translation (NAT).On the
Select a Diskpage, selectUse an existing virtual disk.On the
Select an Existing Diskpage, browse & select therecovery.vmdkdisk we created earlier.Finish the setup.
Edit your VM's settings.
Add a new Hard disk:
On the
Hardware Typepage, selectHard Disk.On the
Disk Typepage, selectSATA.On the
Select a Diskpage, selectCreate a new virtual diskOn the
Specify Disk Capacitypage, enter an amount that makes sense (min 50GB, recommended 80GB)Complete the Hard Disk setup.
Step 4: Patching the Virtual Machine
First, navigate to your VM's files (C:\Users\<username>\Documents\Virtual Machines\<machine name>).
Duplicate the
.vmxfile and append .bak to the end of itOpen your virtual machine's original
Configuration File(.vmx) in a text editorPaste this into the file:
smc.version = "0"If you have an AMD CPU (like me), also add the following to your
.vmxfile.cpuid.0.eax = "0000:0000:0000:0000:0000:0000:0000:1011" cpuid.0.ebx = "0111:0101:0110:1110:0110:0101:0100:0111" cpuid.0.ecx = "0110:1100:0110:0101:0111:0100:0110:1110" cpuid.0.edx = "0100:1001:0110:0101:0110:1110:0110:1001" cpuid.1.eax = "0000:0000:0000:0001:0000:0110:0111:0001" cpuid.1.ebx = "0000:0010:0000:0001:0000:1000:0000:0000" cpuid.1.ecx = "1000:0010:1001:1000:0010:0010:0000:0011" cpuid.1.edx = "0000:0111:1000:1011:1111:1011:1111:1111"If your OS in macOS Ventura, also add/edit this (if it's already in there, you don't need to add it again):
ethernet0.virtualDev = "vmxnet3"
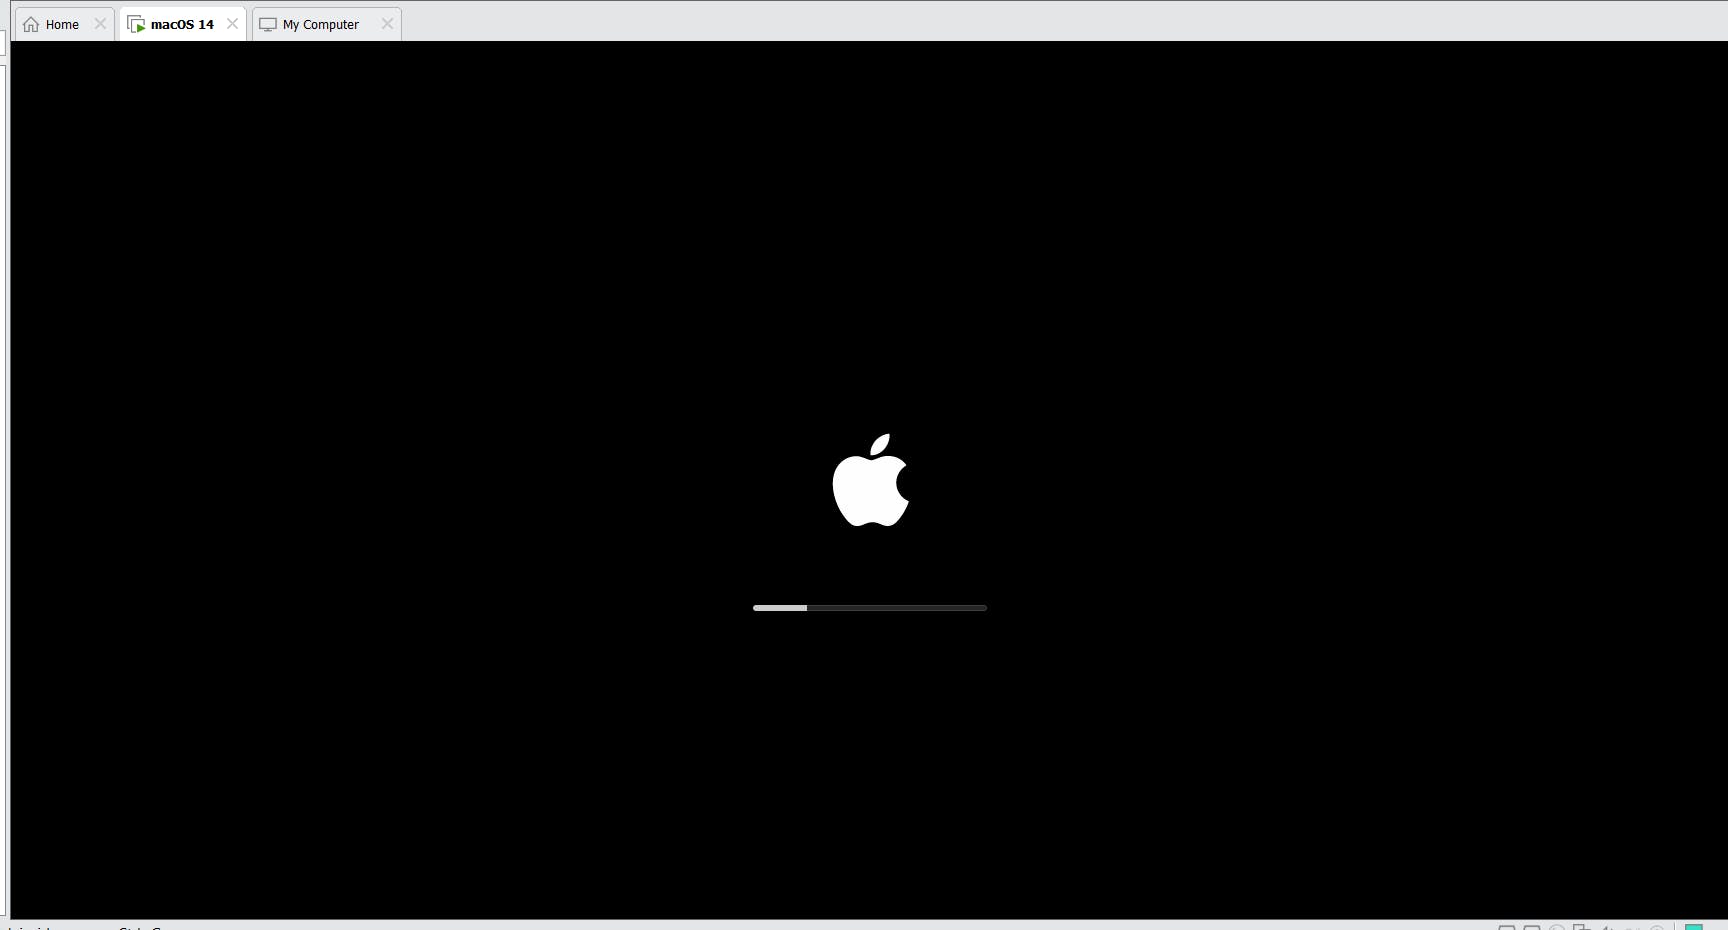
Now, save the file and try booting your VM. If everything goes well, you should have MacOS boot up!
Common Issues
Stuck on Apple Boot Logo: If you attempt to boot your virtual machine and it's stuck on the Apple Boot Logo, do the following to fix the issue. Power off the Virtual Machine, then open the virtual machine's settings. Once the settings window opened beside the
Hardwaretab click onOptions. Change theApple Mac OS Xselection toMicrosoft Windowsthen click OK. Power on the virtual machine again. Once all installed then go back to settings and set it back toApple Mac OS XThe CPU has been disabled by the guest operating system: Enable virtualization in your computer's BIOS
Feature 'cpuid.ds' was absent, but must be present: This is due to a corrupted vmx file. Try using a backup of your
.vmxfile and edit the.vmxfile carefully this time.Module 'featurecompat' power on failed: In your
.vmxfile, make sure that your editor is not converting the quotes (") to "greek" quotesNot enought physical memory: Run VMware as administrator
But we're not finished yet. Now, we need to install MacOS.
Step 5: Installing MacOS
Once you're able to boot into the recovery setup, follow these steps to properly install macOS.
Start by selecting your language.
As soon as the "Recovery" page pops up, select
Disk Utilityand hitContinue.On the
Disk Utilitypage, select the Hard Disk you created (notmacOS Base System).With the Hard Disk selected, click
Erasein the top right of Disk Utility.Close Disk Utility.
On the recovery page, select
Reinstall macOS <version>and hitContinue.Continue through the setup.
When prompted to select the disk to install macOS, select the disk you just formatted.
Once the operating system is installed, navigate through the macOS setup.
Create your macOS computer account, finish the setup, and login.
Congratulations! You've just created your first MacOS Virtual Machine!
Once everything is setup, you may edit the Virtual Machine's settings and remove the recovery.vmdk Hard Disk. Do not delete the Hard Disk you created manually (to store the install).